Window holes
On Monday the window holes were cut out, and the place was transformed from a dark and cavernous space into a house. I had been looking forward to that day since we first started putting on the tongue in groove pine. Here is the south side:

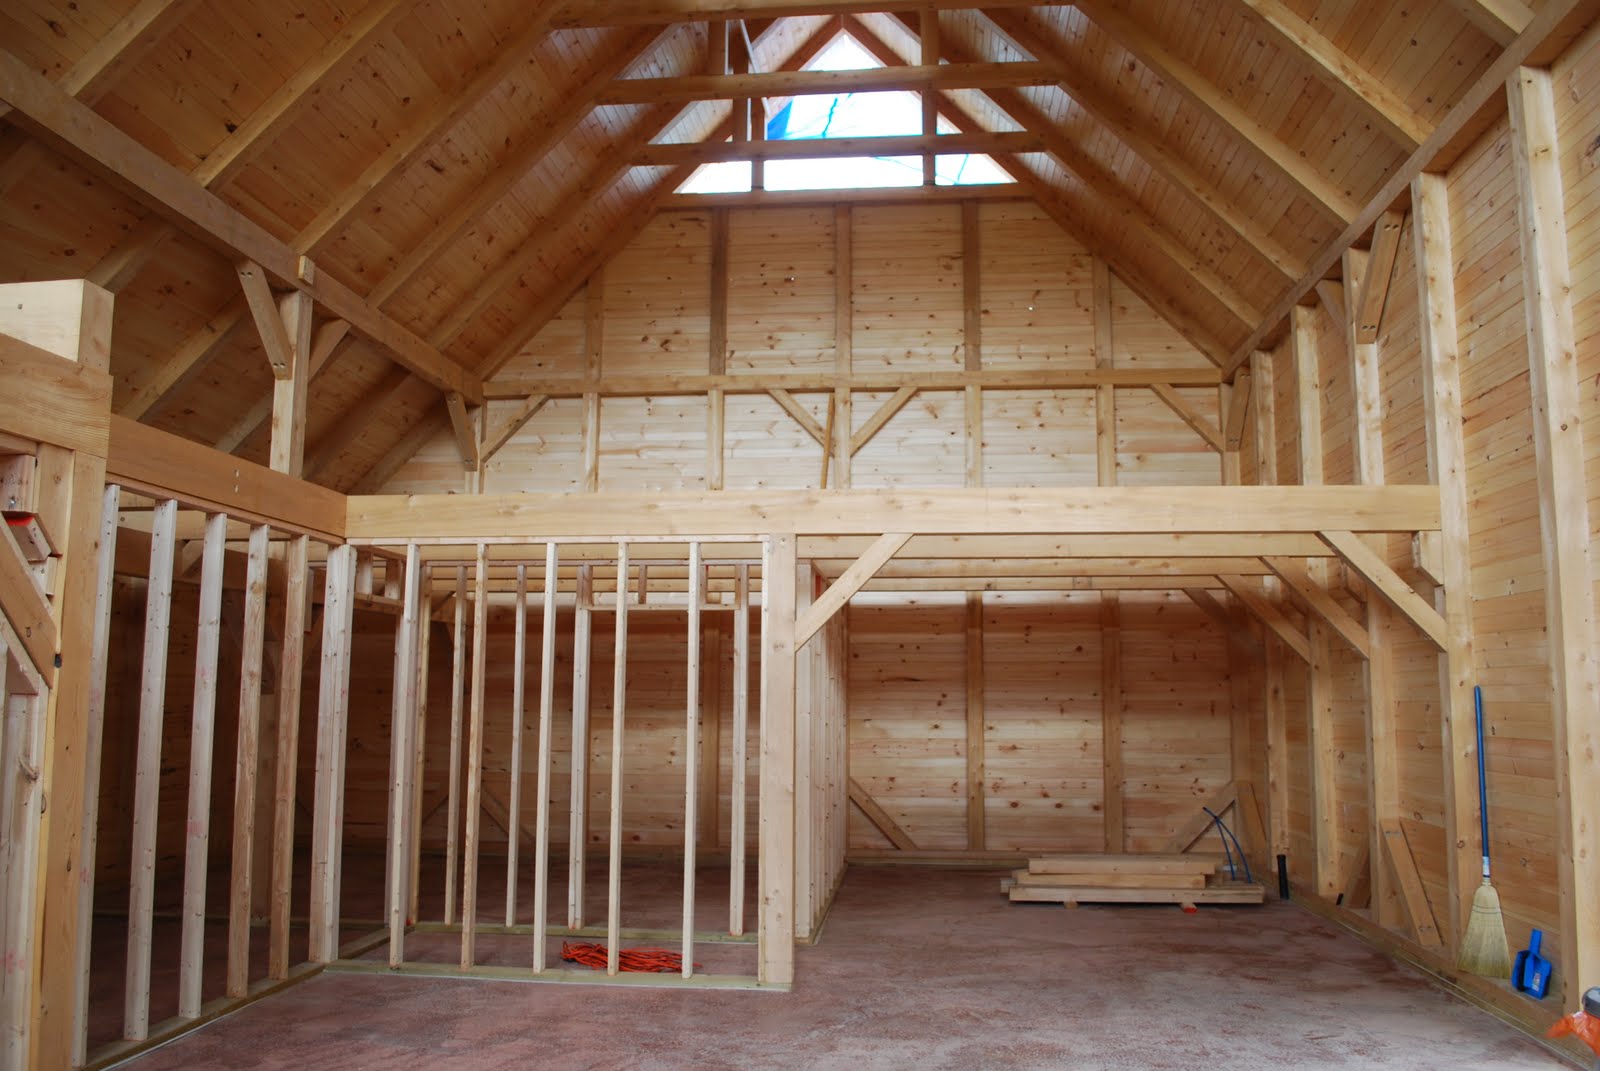
 Here is the view standing in the kitchen, looking toward the living room and west wall:

And the east side: The lower window is in the master bedroom.
 Here is the view standing in the kitchen, looking toward the living room and west wall:
And here is the view standing in the living room looking toward the kitchen (lower right) and the east wall:
posted by Pippa at
5:13 AM
1 Comments
![]()


 Kirby's role is to protect all of our wood (and house) from catching on fire. Here he is in action, putting down one of those pesky straying sparks. Of course, that sometimes means that he loses some whiskers, but it's a sacrifice he's willing to make.
 And here is the second floor. We will complete this as needed, and although we have allowed for a bathroom on the 2nd floor, it won't be between the two bedrooms like it's shown here. There will be no walls enclosing the open area, it will just be railing there.


 Starting the panels for the south wall:

 When we completed the top portion of the pine on the north roof, we had our harnesses on and were clipping into anchors. Due to the width of the roof (44’) we were perpetually clipping and unclipping from several anchors that traversed the width of the roof. The slack you needed to move around meant a fall of up to 10 feet, which thankfully neither of us had to experience. When the boys (who don’t wear safety gear) helped Erick finish the pine on the south roof, Erick had his harness on until Jared asked him “Hey Erick – Is your nail gun sad that it has a pussy behind it?” And that was the end of the harness wearing.


