Siding Finished!
I'll let the pictures do the talking. :)


posted by Pippa at
4:56 AM
3 Comments
![]()
 At this point you are probably wondering “What on earth is a spacker?” I can’t say I blame you. Four short months ago I had no idea myself. Well allow me to enlighten you.
  The crew that we’ve hired to do the siding clearly has no understanding of the proper use of spackers. Using our spackers, Erick and I strapped the west side of the house, and as you can see from the photo above, the strapping is perfectly parallel and straight, and each row is the same distance apart. When we look at the strapping put on by our crew, it’s evident they didn’t use spackers as the strapping doesn’t look straight, and the distance between successive rows is variable. However, since the strapping is going to be covered by the siding, it really makes no difference from a structural point of view.
posted by Pippa at
5:25 AM
1 Comments
![]()
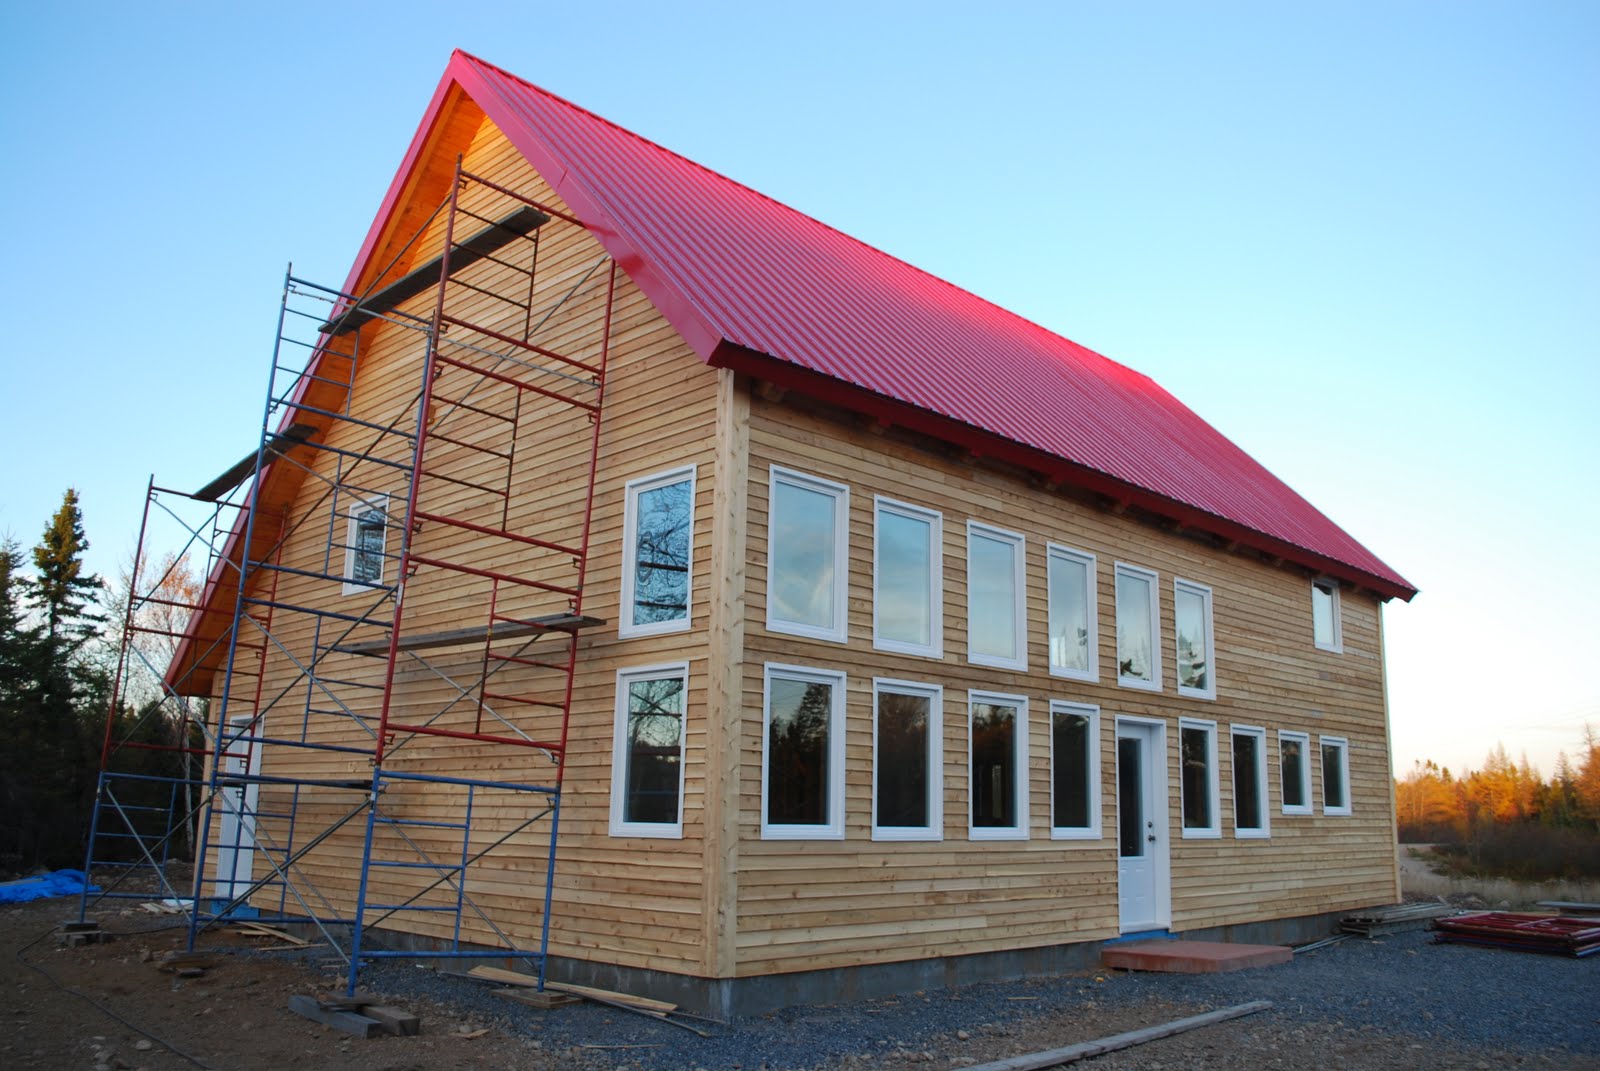
 Well would you look at that? Cedar siding at last! Doesn't it look great? :) Actually they're a little further along now than these pictures show. They're up to the top of the lower level windows on the south side, and the north and west sides are done. When you walk up to the front door all you can smell is cedar. You can actually smell it walking up the driveway, 100 feet or more away from the house. Although I know the lovely cedar smell won't stick around, I can't help but hope that it does. :)
posted by Pippa at
4:44 AM
1 Comments
![]()
 I finally took some new pictures last night. I'm hoping I'll be able to post them soon. But we're working away. We've been taking care of the little details inside that we hadn't yet had time for, like putting 2 x 6 ledgers under the floorboards in places where they were previously unsupported, but that weren't safety critical (like at the very edge of the lean-to section upstairs), getting ready for drywall, arranging siding, etc.
posted by Pippa at
10:28 AM
2 Comments
![]()
 I know that most of the people who read my blog have already seen my countertop tile (whether they wanted to or not!), but I thought I'd post it anyway, since these are the only pictures I have that you guys haven't seen.
posted by Pippa at
9:26 AM
4 Comments
![]()

I'm an amateur artist that works mainly in soft pastels and watercolours. My work is currently displayed at Bluefin Pottery and Hand Creations in Digby, NS. If you're interested in purchasing any of the paintings displayed here, leave me a comment.

Subscribe to
Posts [Atom]